I love working on projects. One of my favourite things to do on the weekend is bust out my craft box or rummage through the tool box and scrap wood pile to create something beautiful.
The problem is, craft projects do have a tendency to be time-consuming and costly - but that doesn't have to always be the case!
This craft project is one I whipped up in a day - and whilst it wasn't originally one I was going to share, it's one that I've been getting so many compliments on that I had to remake all over again so I could share it with you.
The perfect stylish alternative to a night light and a super easy DIY lamp, this DIY Light Box Canvas is a fun way to feature your favourite quote - and a unique wall decor piece that also makes a great gift idea.
So let me show you how to make it! >>
What You'll Need:
- A canvas in the size of your choice
I picked up an A4 sized one for $5 at a local variety store. - Battery operated LED fairy lights
I bought a set of $1 copper string lights from eBay. You can also use powered lights but you'll have the cord hanging out and need a power source. - Black paint
I used black chalkboard paint for my first one as that's what I had opened, however, any kind of black acrylic paint works perfectly. - Paint brushes
- Hot glue gun or thumb tacks/staples to attach your lights
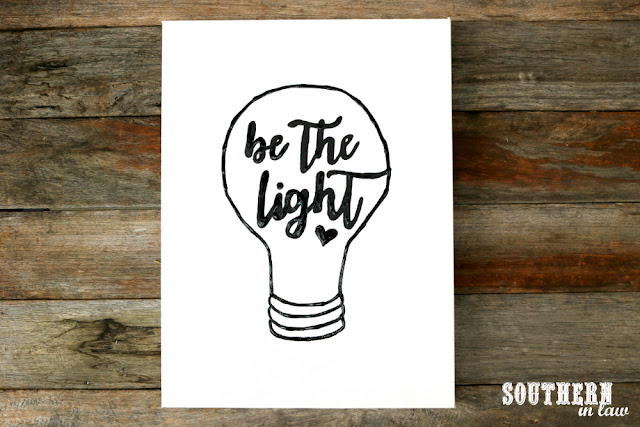
In order for your design to work, you'll need to leave the parts you want lit up white and you want to paint the rest of the canvas. For my image, I wanted the light bulb to be lit up - so I first drew the outline of the light bulb and painted in my text.
If you want to do this Be The Light Version, you can use this printable template. I simply printed out my template and taped it to the inside of my canvas. I then held the canvas up to a window so I could see through the canvas and traced the design onto the canvas with a pencil.
Once I finished tracing the design onto my canvas, I painted it on using my black paint and a fine paint brush.
Once your first layer is dry, fill in your background using a thick layer of black paint.
You want the paint to be thick enough that your light doesn't come through. If it's not quite thick enough you can always touch this up later on.
Once your canvas has dried completely, it's time to add your lights.
If you're using copper string/wired lights like I have, you'll want to attach your lights using a hot glue gun as metal staples or thumb tacks will disrupt the battery circuit and your lights won't work (I learnt this the hard way after stapling my first batch of lights on, hitting the switch and realising they didn't work).
I simply added a dot of hot glue and then attached a loop of the lights before going to the next side and doing the same and continuing until all of my lights were strung across. You want to make sure you glue your lights to the outside rim of the canvas as you don't want the lights touching the canvas.
Once your lights are on, it's time to flick the switch and turn them on!
If you find light coming through your black parts at this stage, simply paint over them a little thicker and leave them to dry.
Once you're finished, all you have to do is hang it on a wall and you're good to go!
The colour of the light will vary slightly depending on the colour of your wall. We found the lights are brightest when the canvas is hung on a white, light or yellow coloured wall (see above on a yellow wall vs this photo with the canvas hung on a pink wall).
If you want to remedy this, all you have to do is staple a piece of white or yellow paper to the back of your canvas (just cut a hole so you can hang it) or place a piece of yellow tissue paper on the inside of the canvas in front of the lights.
And there you have it, a super simple DIY project!
But tell me, are you a craft/DIY fan?
What's the last project you worked on?
Or what's your favourite way to spend a weekend at home?


No comments:
Post a Comment
There is nothing better than reading your comments on our posts! Let us know what you think of this post!